

When we connect to a folder to combine all the files, Power Query creates a “Query” called “Sample File”, which is used as example to process each file, the results will depend on the columns that exist in this file. But what happens when any of the files have less columns than others?
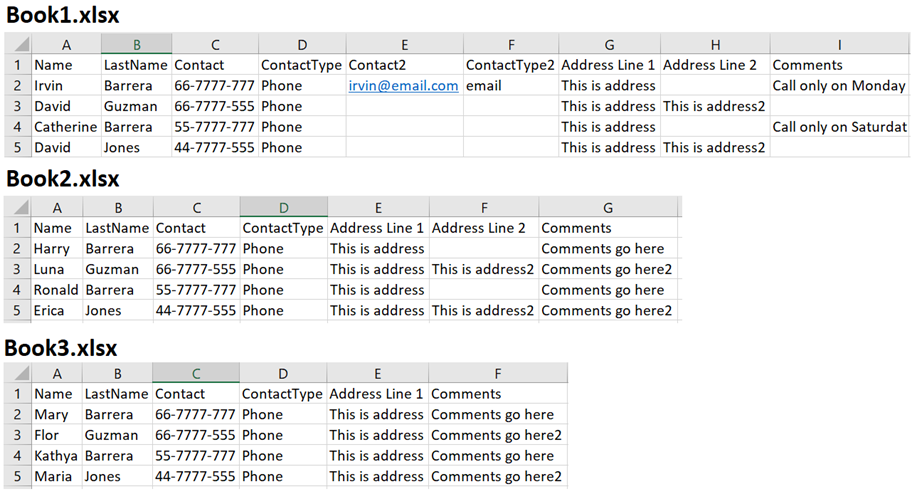
In the below example, we have three files with 5 columns in common, but there are a couple that are not present in the three files: Contact2, ContactType2 and Address Line 2.
Enhance your business efficiency with our comprehensive Power Platform Consulting services. Our experts ensure seamless data integration across all files, leveraging Microsoft Power Platform’s capabilities for robust automation and innovative solutions. Whether managing complex datasets or optimizing workflows, our team is dedicated to maximizing your organization’s potential through tailored consulting services.
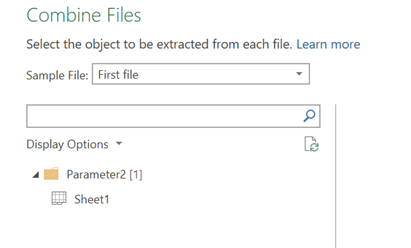
If you open the “Sample File” query, and click the “Source” step settings, you will notice Power Query is using the first file as Sample (Option is selected at the moment of combining the files). This is an essential step in any Power Platform consulting service to ensure seamless data integration.

If Power Query uses the workbook with less columns (in this example, Book3.xlsx) as sample file, it will exclude all the columns in Book2 not present in Book3, to avoid this, we should make sure the correct workbook is used as the Sample.
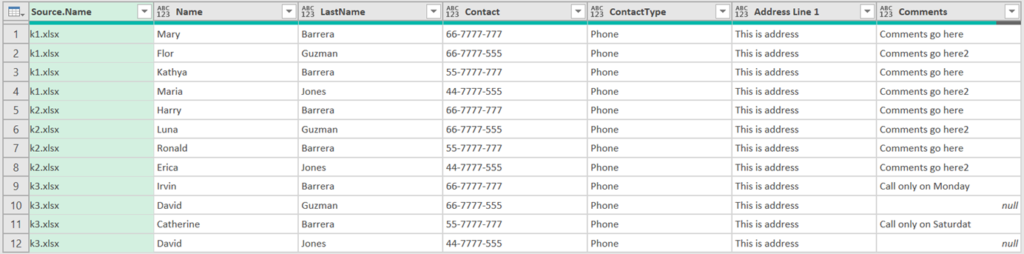
Contact2, ContactType2 and Address Line 2 are now missing from the resulting table
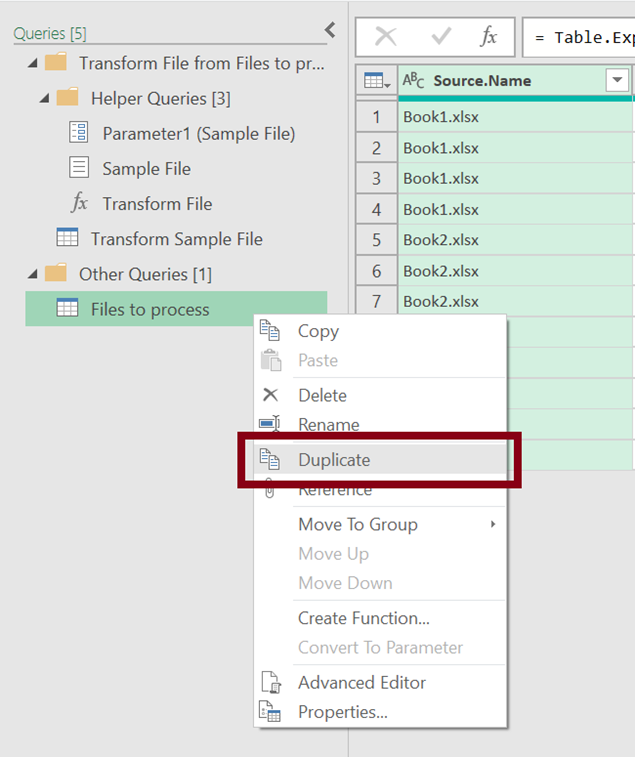
Making the sample file the one with the highest number of columns
- Duplicate the query that combines all the files
- Rename the query to “Column Count”, then in this new query go to the step “Renamed Columns”, after the “Invoke Custom Function1” step, and click on “Delete Until End”.

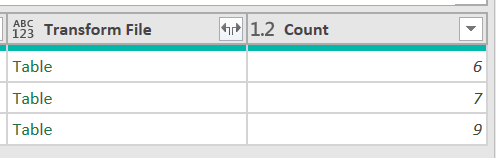
- Go to the last column in this new query and you will see a column that contains the table in each file. We need to know the number of columns each of the tables have.
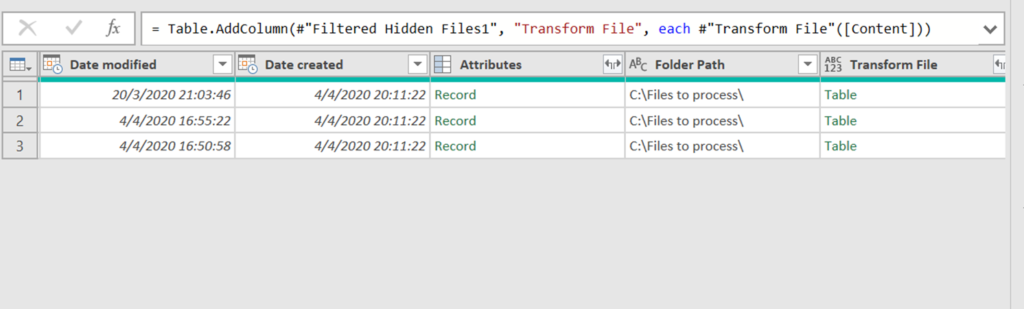
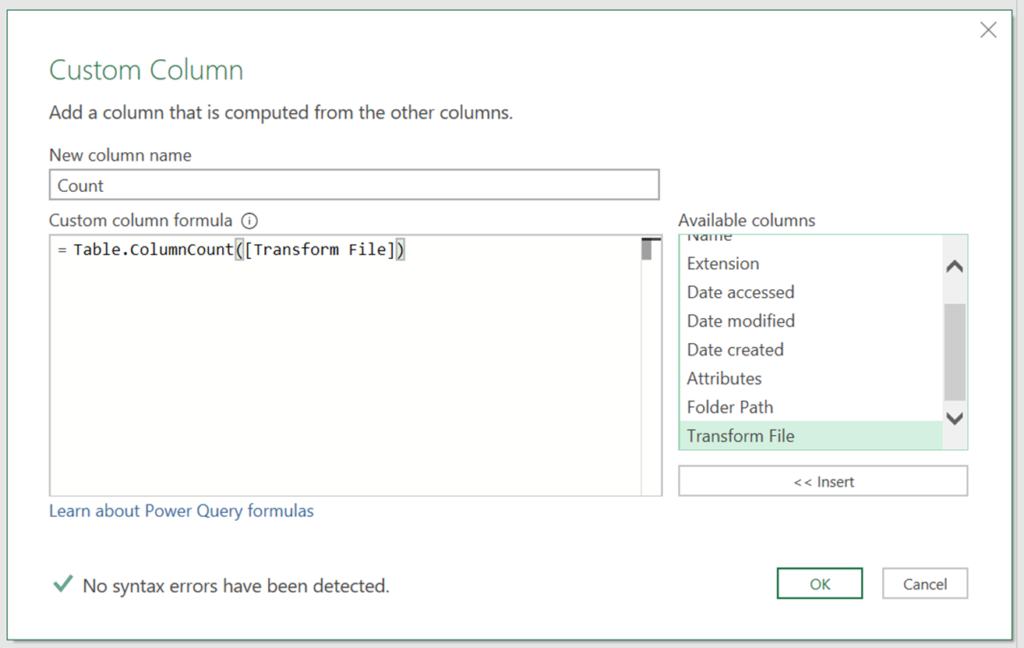
- Go to tab Add Column and click on Custom Function. Indicate the column name and write Table.ColumnCount([Transform File]) – (you need to the reference the column that has the table records as shown above, make sure you check the name). Then click OK.
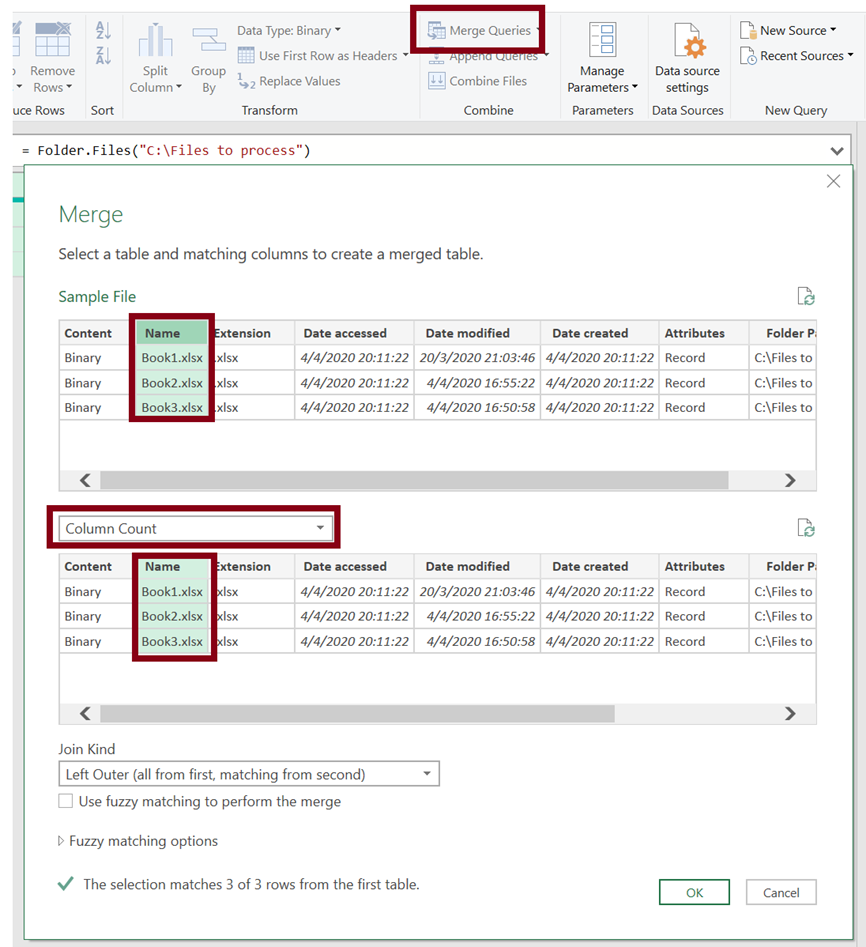
- Go to “Sample file”, in that query we’re going to insert a step after “Source” and before “Navigation”, select the “Source step” and then click on “Merge Queries”.

- Select the Column Count query in the second table dropdown and use the File Name as matching columns. Then hit OK.
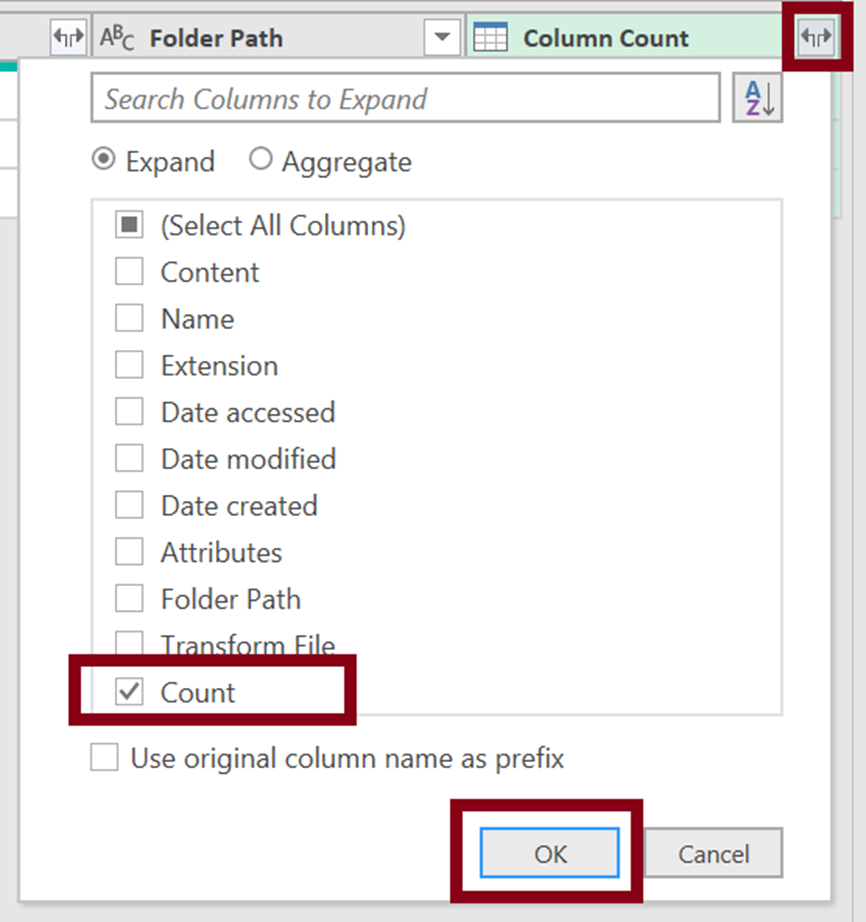
- Expand the new column, and select the “Count” field, click OK
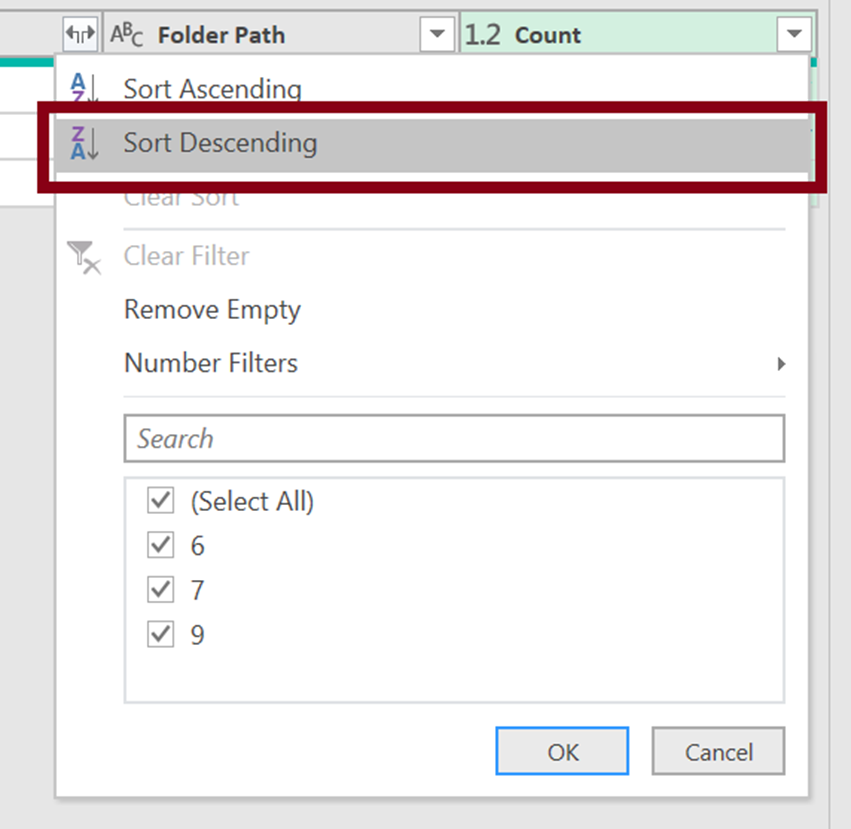
- Now that the column count per file is available in the “Sample File” query just sort the column to have the file with the highest count first.
With this workaround you can be sure that Power Query will always use the correct file as sample, regardless of the name of the file.
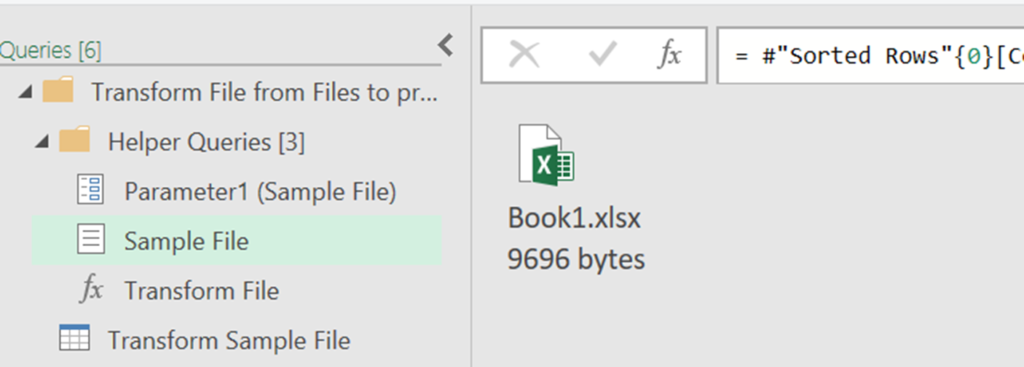
Table column count function: https://docs.microsoft.com/en-us/powerquery-m/table-columncount
