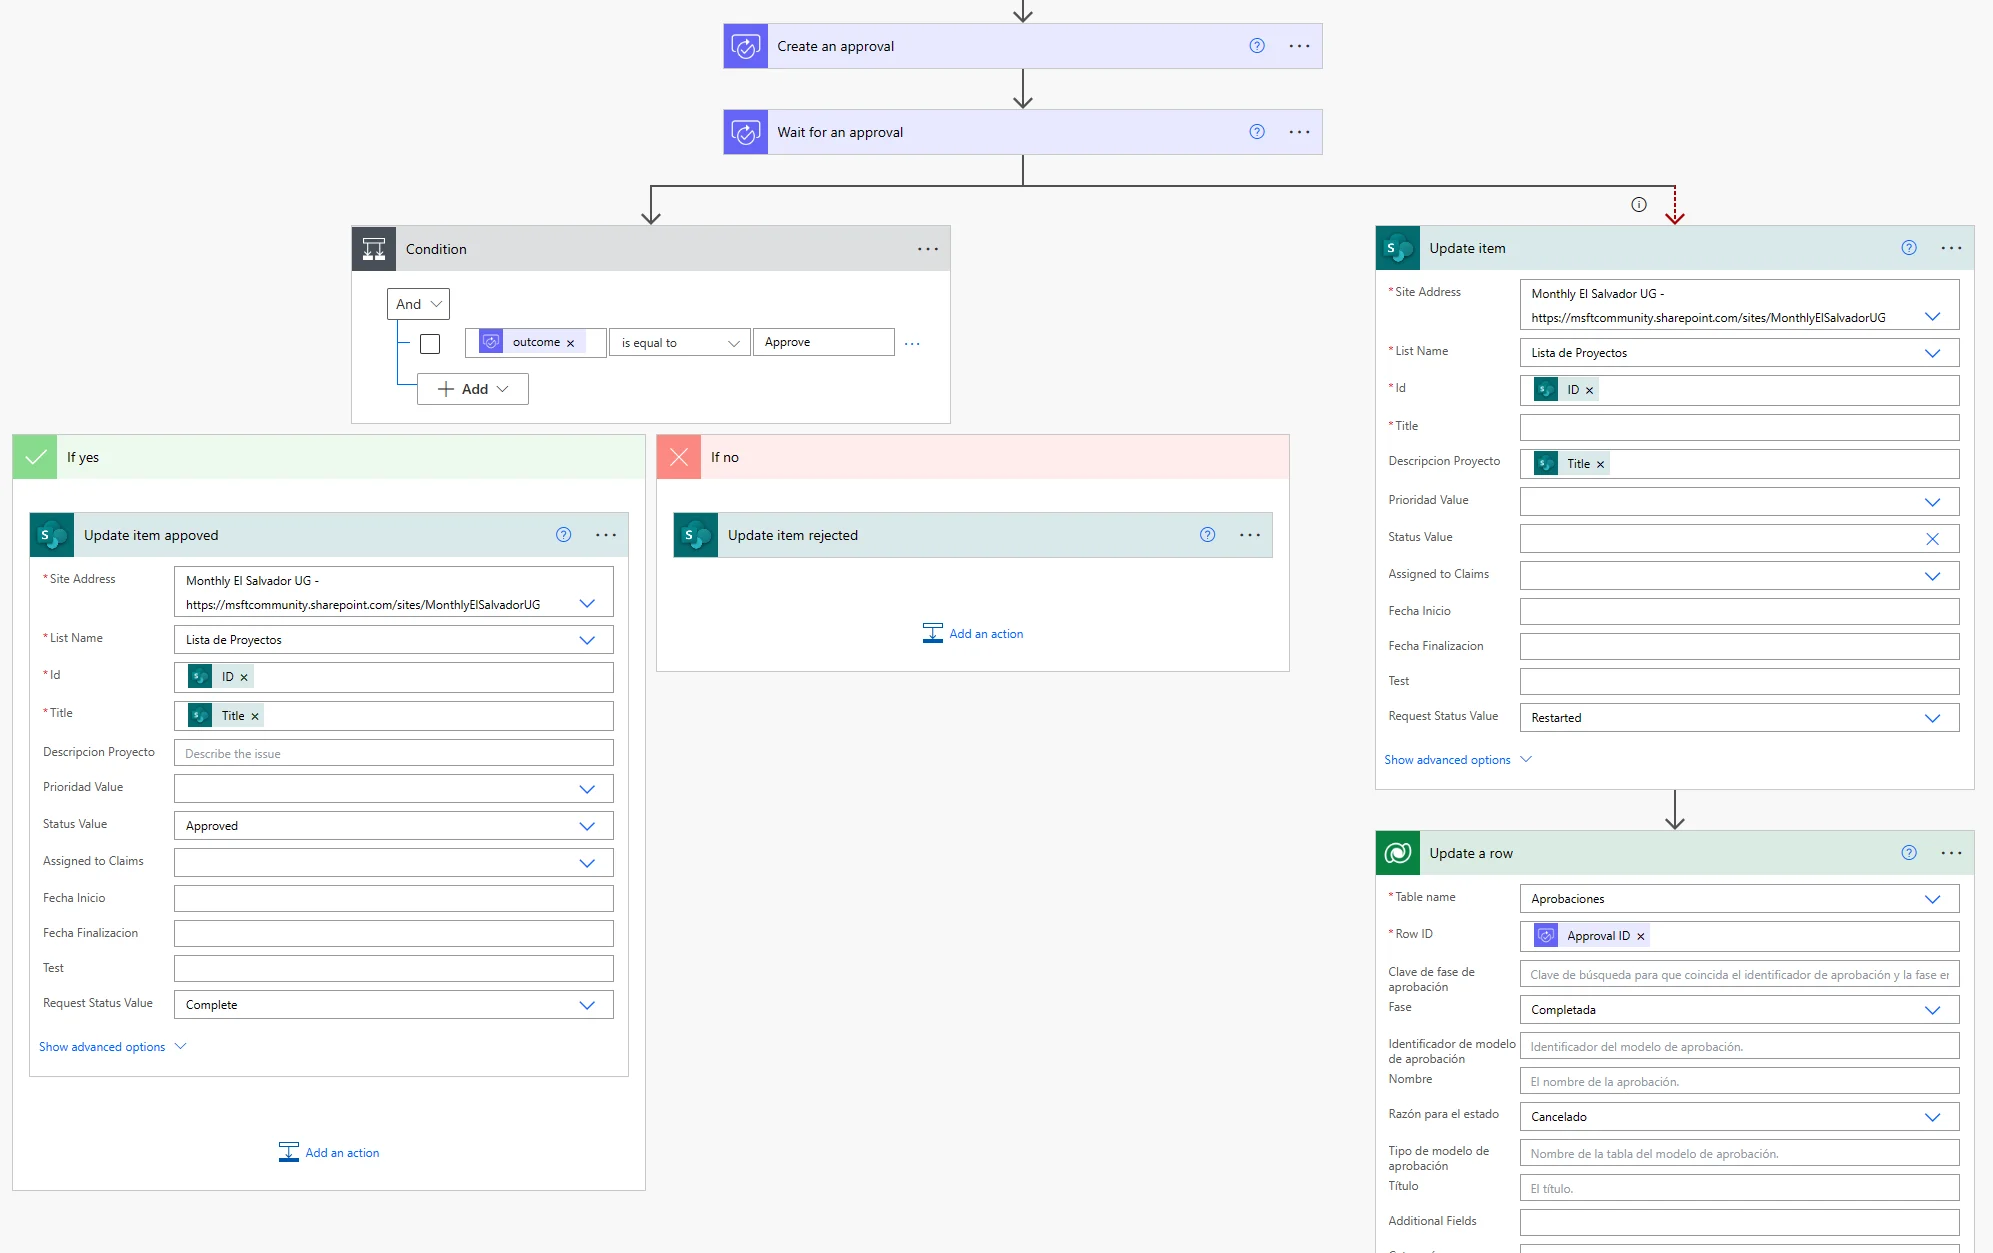
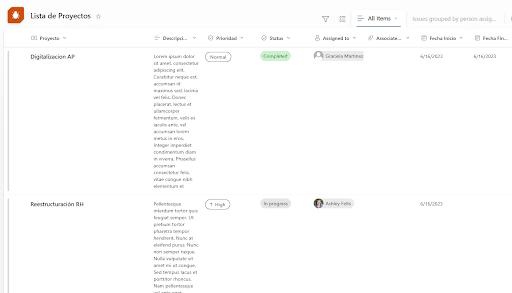

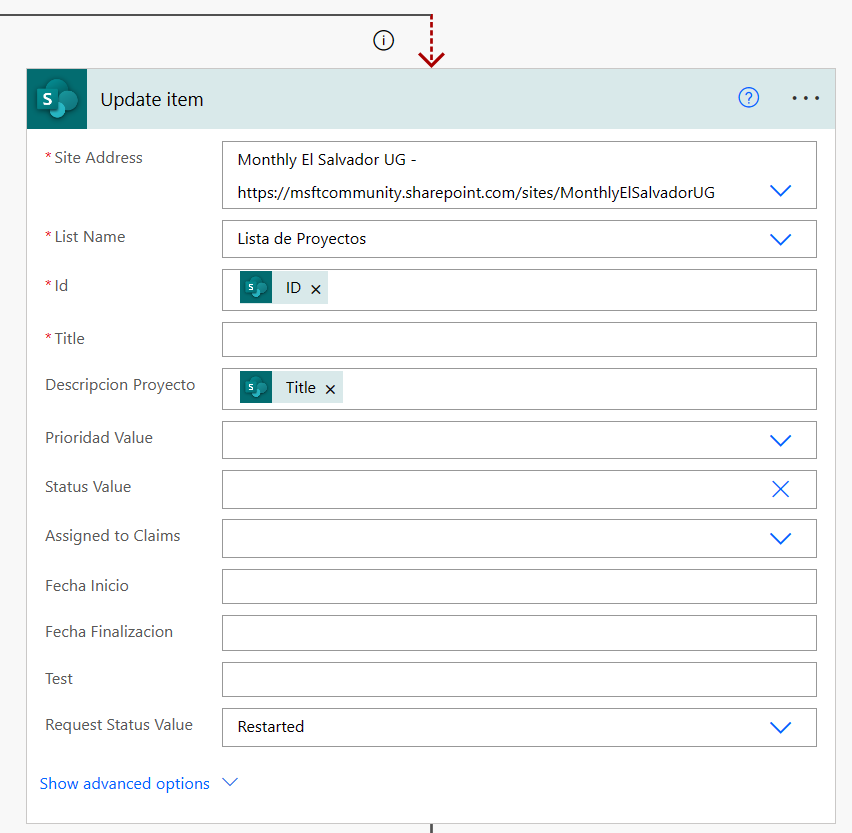
For our use case, we will just update the project status in the SharePoint list, we will also update request status to “complete”. This will be in the left side brach.
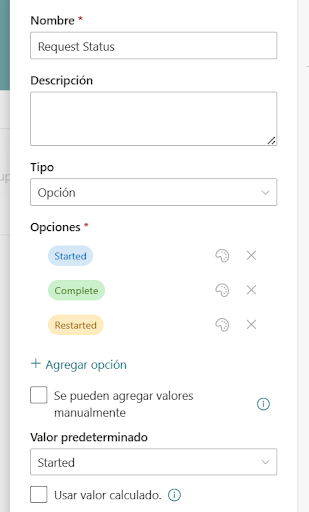
The “Update item” action should look like below, make sure the column you added at the beginning to flag restarted request is set as “Restarted“
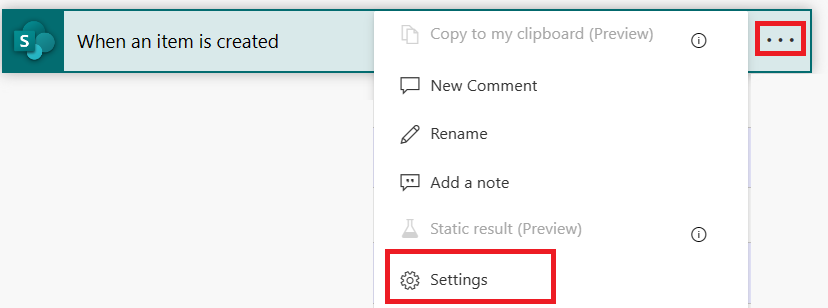
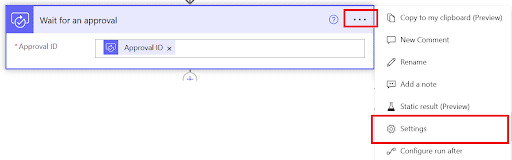
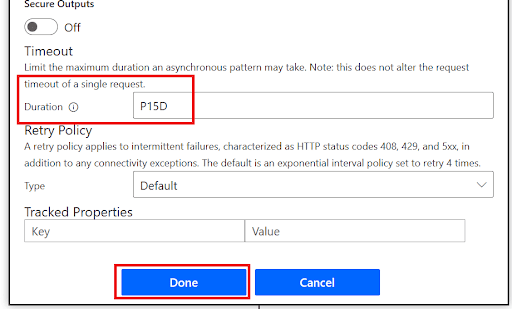
On the right side of the branches, use the ellipsis to update the “configure run after” value.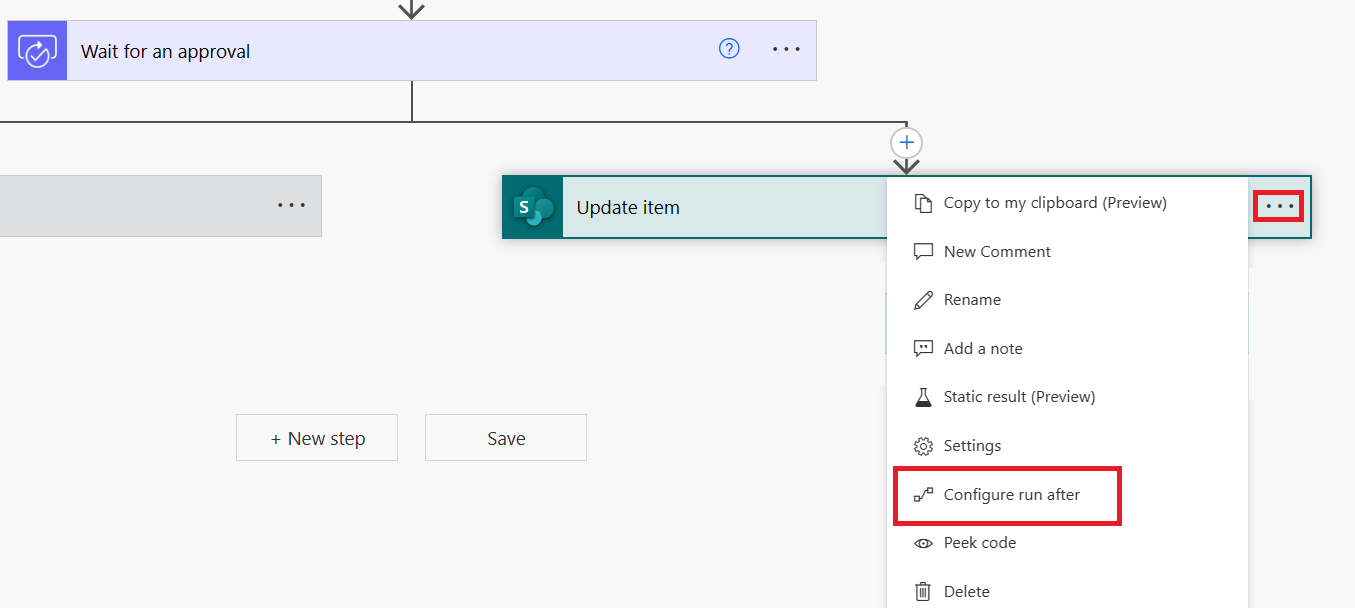
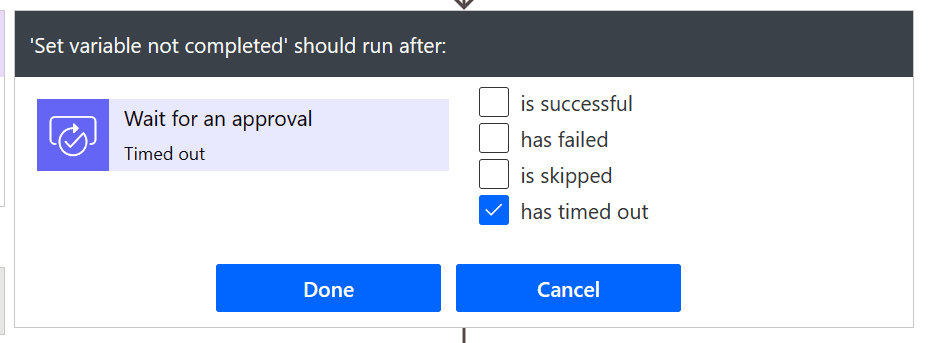
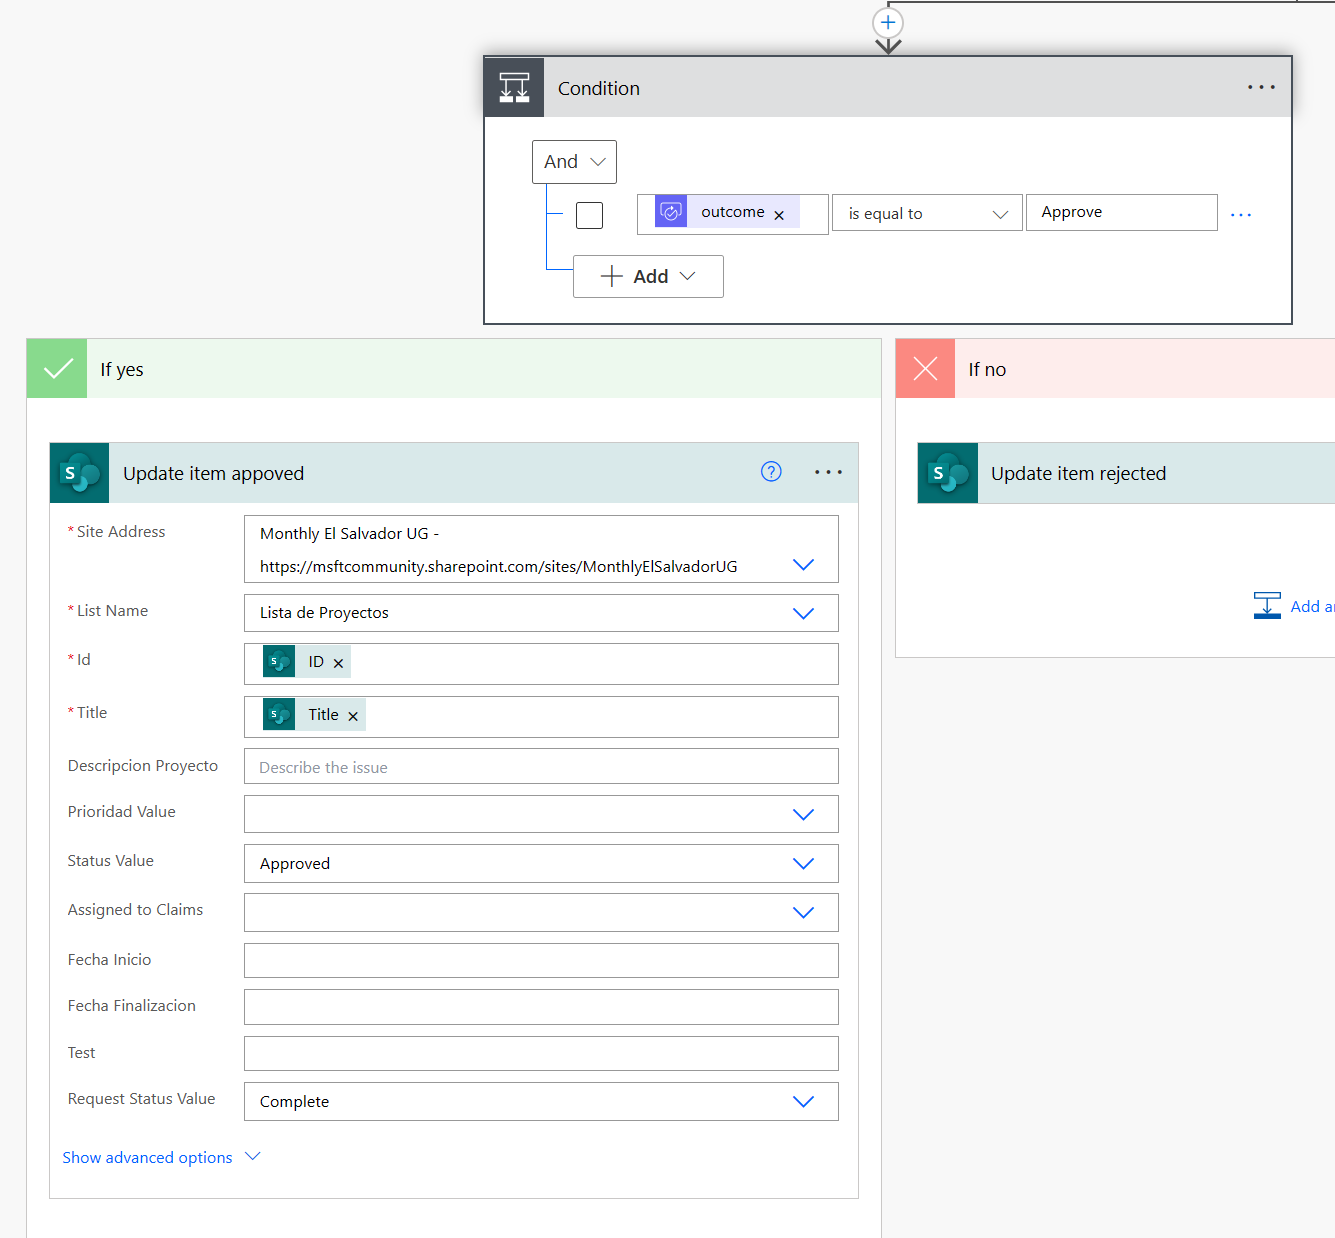
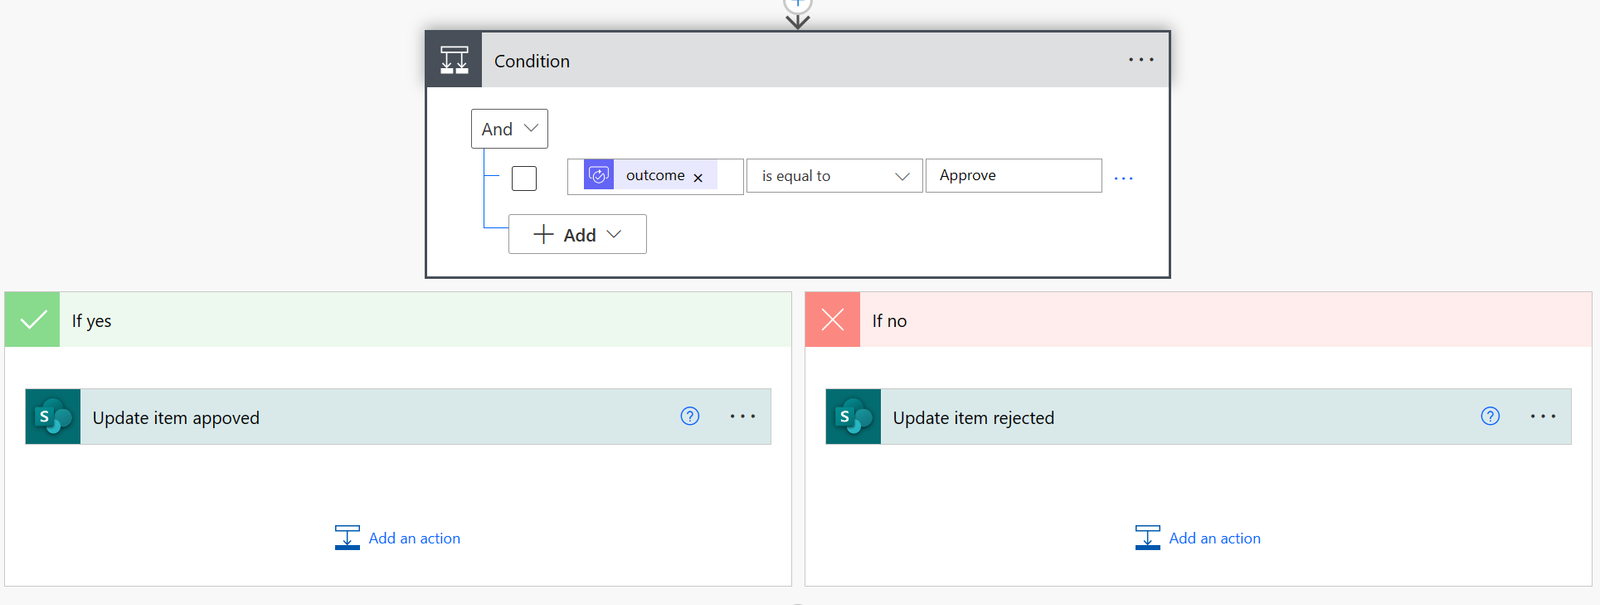
After you click on Done, this is how branches should look:
All approvals data is stored in Dataverse, so we will need a Dataverse action for this – so note that if you add this step, your Power Automate flow will become premium (hence, a license will be required – you can read our guide on licensing here).
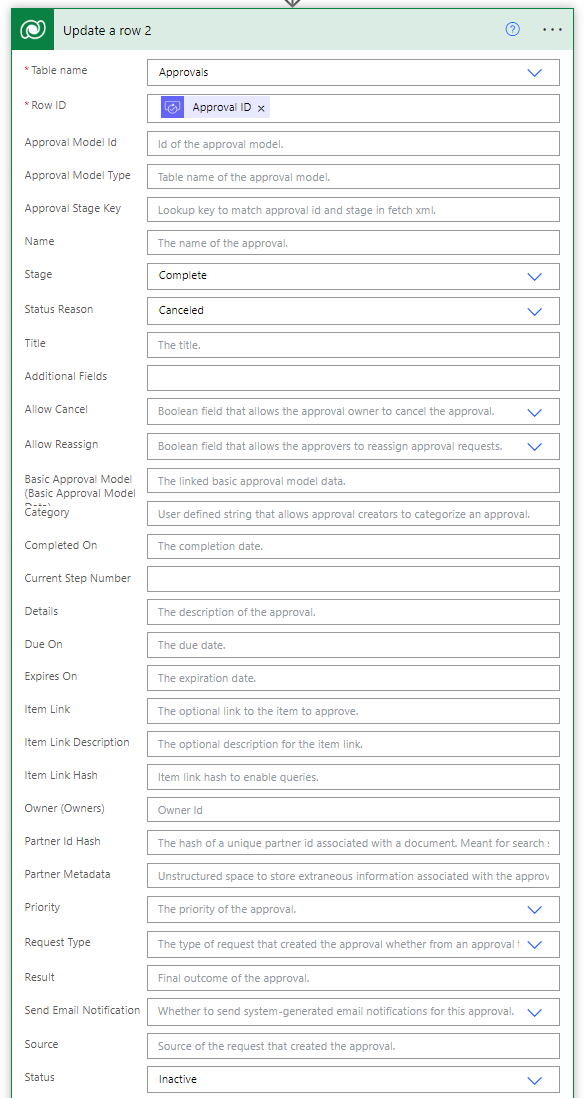
Look for the “Update a row” action and set it up as follows:
- Select “Approvals” as table name
- Row ID = Select “approval ID” from the “create an approval” action.
- Stage = Complete
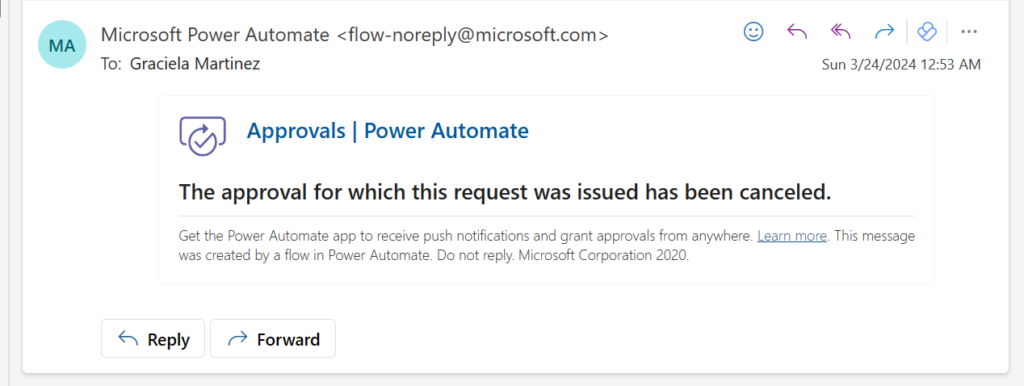
- Status Reason = Canceled
- Status = Inactive.
Dataverse action should look like this:
It should be added right after the “update item” action, on the right branch of our workflow.
This is how the final flow should look: