
Table of Contents
Dataflows are an amazing tool to bring data from external systems into your Dataverse environment, and today we will show you how you can use them to bring data from your data entities in Dynamics F&O and push it to a Dataverse table. If you’re working with Power Apps consulting services, this integration can significantly streamline your workflows.
You can also read this post in our Linkedin page.
For businesses aiming to refine their digital transformation strategies, utilizing Power Platform consulting services can be pivotal. We are here to help you navigate and implement these tools effectively, enabling seamless data integration and automation across your systems.
Step 1. Get your environment URL
First, let’s find out your dynamics URL. We will be using a sandbox URL, for this example, url will look like below:
https://{your-org-name}.sandbox.operations.eu.dynamics.com
Step 2. Create a dataflow
Go to https://make.powerapps.com/, and select the Dataverse environment you want to upload data to, and then go to “Dataflows”.

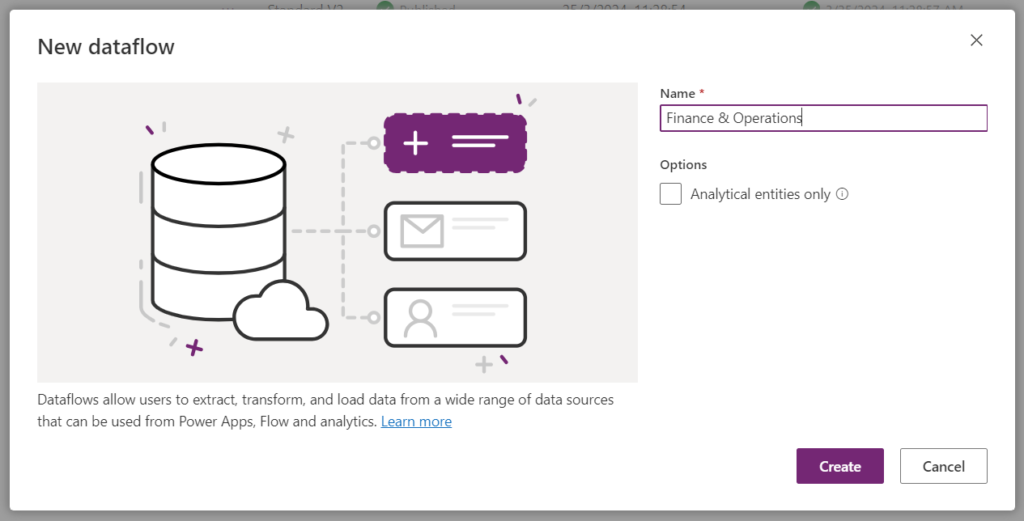
Then, just click on “New dataflow”

Assign a name and then click on “create”.
Type “odata” in the search bar, and select the first option – OData
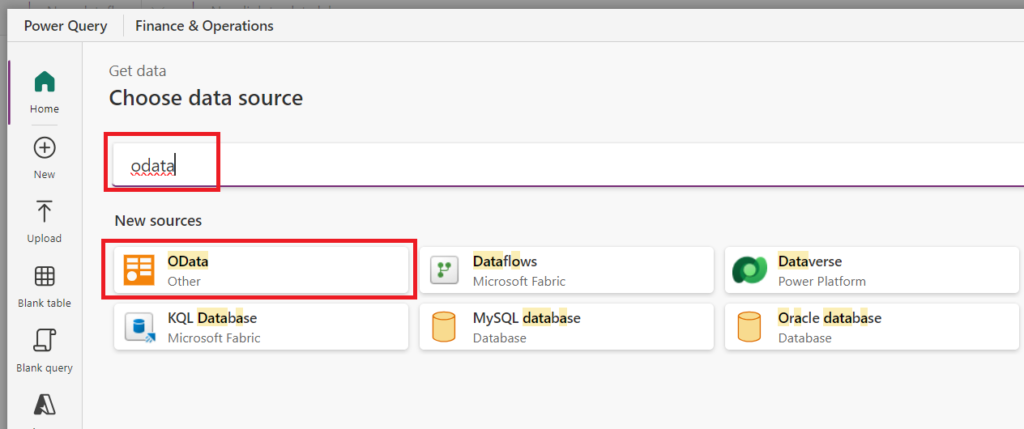
We are using the OData connector because we will take advantage of Dynamics’ data entities integration capabilities. You can learn more about these here: https://learn.microsoft.com/en-us/dynamics365/fin-ops-core/dev-itpro/data-entities/odata
Step 3. Set up your connection
First, let’s define which table you want to bring over to Dataverse. In our case, it will be the table “Currencies”.
The format for your url should be as follows:
https:// {your-org-name}.sandbox.operations.eu.dynamics.com/data/{your-table-name}
- URL: https://pgi-365.sandbox.operations.eu.dynamics.com/data/Currencies
- Connection: select “Create new connection” option
- Authentication kind: Organizational account. Click on “Sign in” and sign in to your M365 account with access to the Dynamics environment.
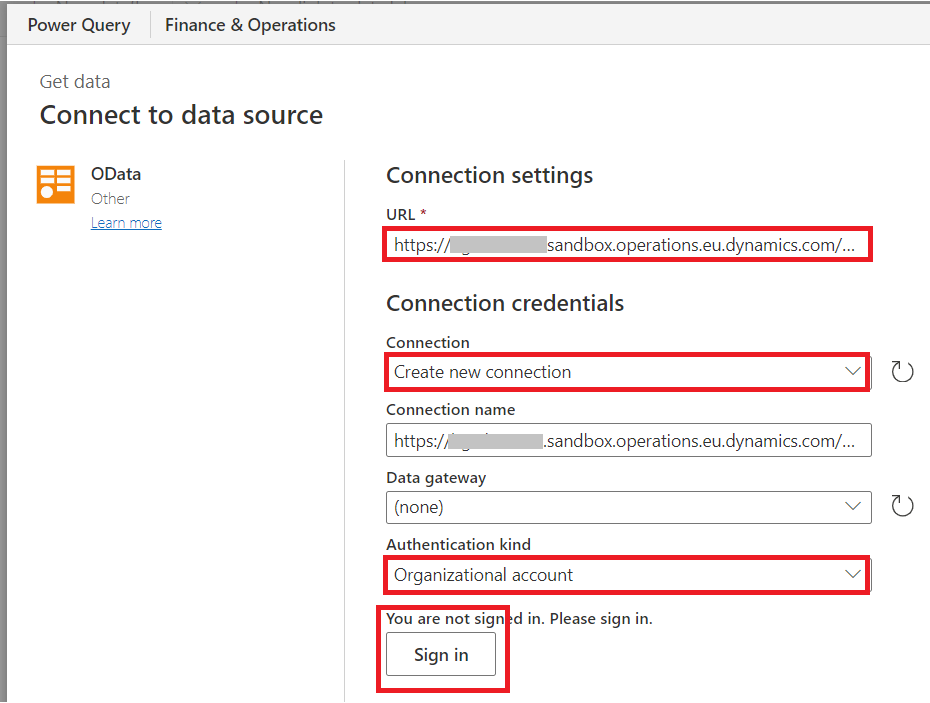
Once complete, click on “Next”
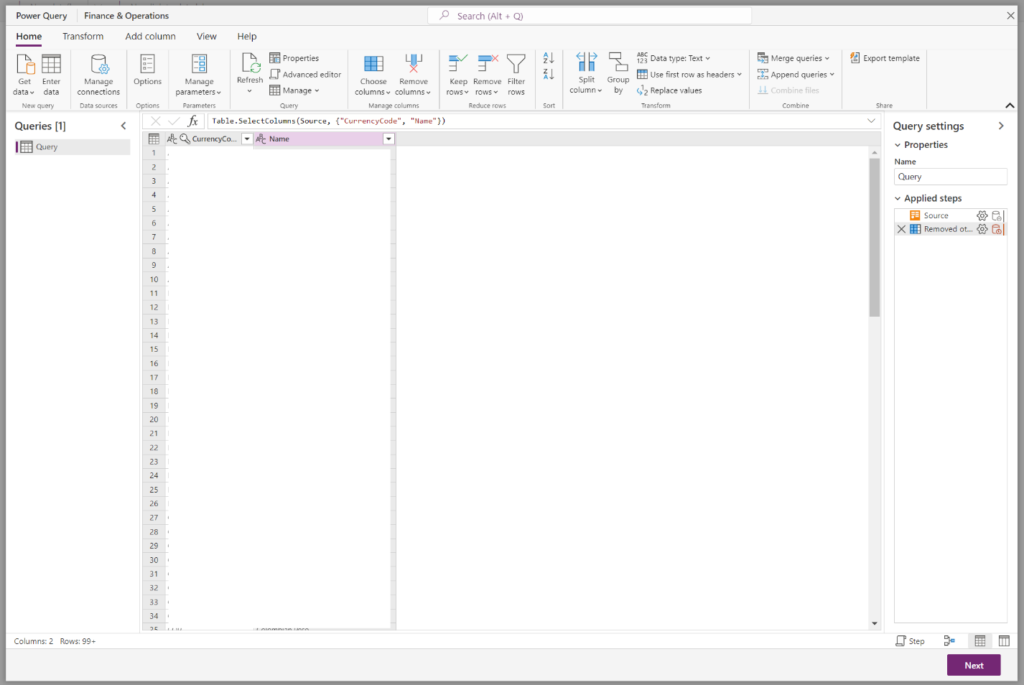
Step 4. Transform your data
The next step will take you to the Power Query Editor, where you can transform your data by removing columns, adding new columns or applying filters.
Step 5. Load your Data
Once you have defined the final query result, just click on next and this will take you to a new screen where you can define if your data will be loaded to a new table or an existing one.
After you have selected if it’s a new or existing table, on the right side of the screen, you will see a list of columns where you can map how your columns from Dynamics will be mapped to the Dataverse.
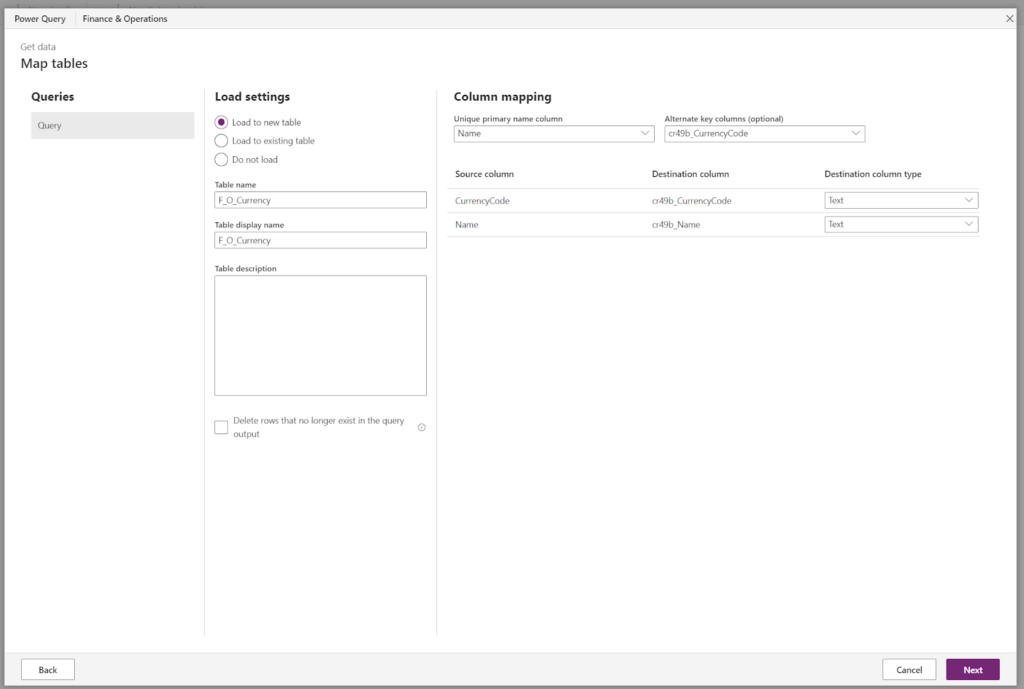
Make sure to select which column makes your data rows unique to avoid issues in the future.
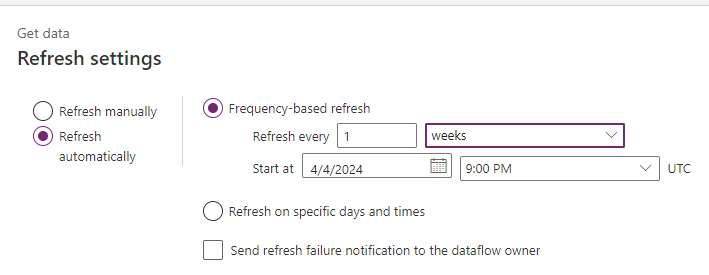
Step 6. Define a refresh schedule.
Depending on your use case, you may need this data to be refreshed hourly, daily, monthly, etc. – for this just select the “refresh automatically” option and define how often refresh should happen.
If it’s a one-time only data pull, use the “refresh manually” option.
Optional: add filters and/or other options
Since we are using OData capabilities, we can apply filters to our connection, of define which columns we want to bring into our Dataflow.
To do so, we just need to add parameters to the URL.
- If you want to define which columns you need, use the query parameter “$select”
- If you want to filter data, use the query parameter “$filter”
And that’s it! You’re ready to bring your data entities from Dynamics to Dataverse!
