When we are using Power Automate Desktop to download files from the web, it’s a very common use case to want to upload them to a SharePointsite. There are two ways to achieve this, depending on if you have a Power Automate Premium account or if you don’t.
Content
Option 1. You have a Power Automate Premium license.
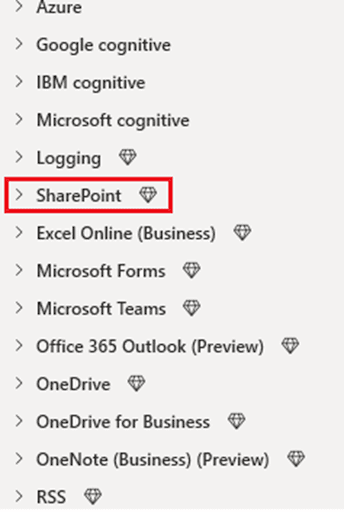
Power Automate Desktop has received several updates, incorporating numerous Office 365 options such as Microsoft Forms, Word, Excel, Teams, and SharePoint. These options are “premium” features that you can only access if you have a free trial enabled or a Power Automate license. If you are looking for expert guidance in automating processes, leveraging Microsoft Power Platform consulting services can help you maximize efficiency. Organizations focused on scaling automation often combine these tools with enterprise business application services to ensure workflows integrate seamlessly across different business units.
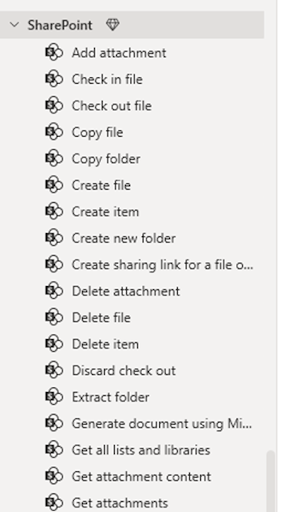
When we expand the SharePoint options, you will find the same options you have from Power Automate Cloud when using SharePoint.
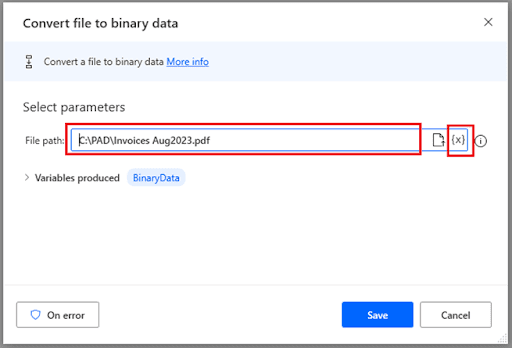
To upload files to SharePoint, we need the “Create File” action, this action receives the file in “binary” format, so we need to use the “Convert file to binary data” to extract the file from our local computer and convert it to the format SharePoint will accept.
Below is how this action is set up, just select the file using the file selector, and you can also create dynamic paths using variables. The program will return the file into the “BinaryData” variable.
Automate tasks that slow you down
Free up your team’s time and focus on strategic work with digital and robotic automation.
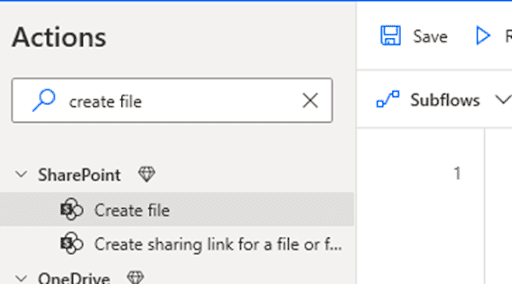
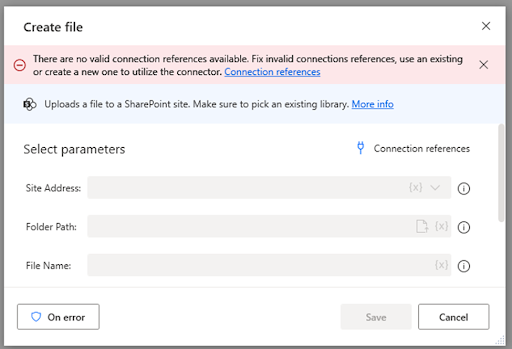
Now, it’s time to call the SharePoint action. Just look for the “create file” and select the option under SharePoint.
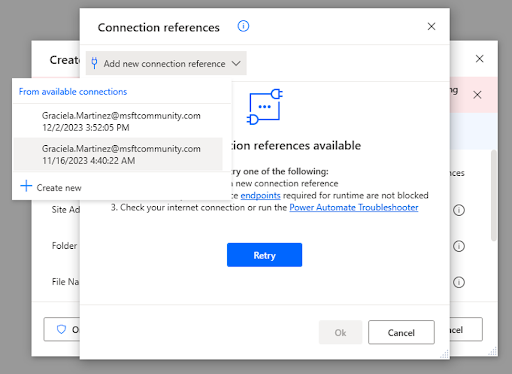
If this is your first time working with SharePoint from Power Automate Desktop, you will get prompted to create a new connection, just click on the “connection references” button and then create a new connection.
Once you do that, Power Automate will connect you to all the SharePoint sites you have access to with the account you signed into.
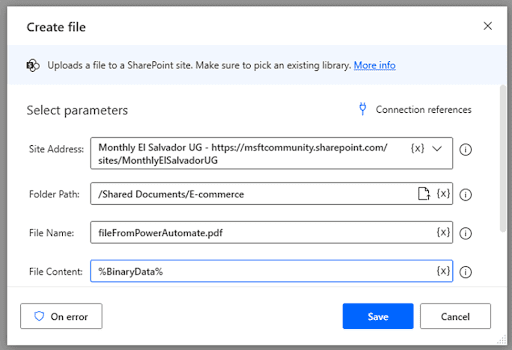
Then, just set up the SharePoint action.
Select SharePoint site
Indicate the folder path where you will store the file (you can also use variables to make it dynamic)
Write file name (you can also use variables to make it dynamic)
File content should be the variable returned from the previous action “BinaryData”
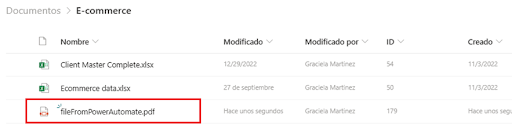
This is how the final flow will look
After executing the automation, SharePoint will upload your file!
Incorporating Microsoft Power Platform consulting services into your automation strategy can significantly enhance your ability to streamline business processes. From setting up efficient flows to optimizing data management, expert consultants provide the guidance needed to fully leverage Power Automate and SharePoint integrations.
Option 2. You don’t have a premium account
The workaround when you don’t have a premium account is syncing your SharePoint site to your local computer.
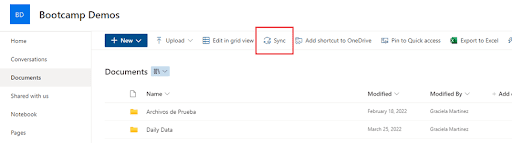
To sync your site to your site, just open the SharePoint site, and click on the “Sync” option.
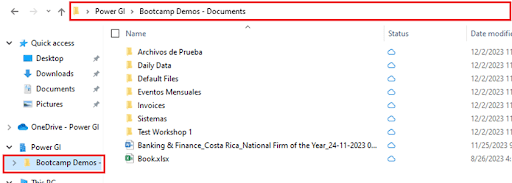
This will prompt you to sign into OneDrive and then it will add a folder into your PC that will sync from SharePoint to your PC and from your PC to SharePoint.
This is how it will look:
To upload the files into SharePoint, we just need to create them in our local folder and that will automatically sync them to the site.
Just look for the “Move file” action and select the action under the “File” group.
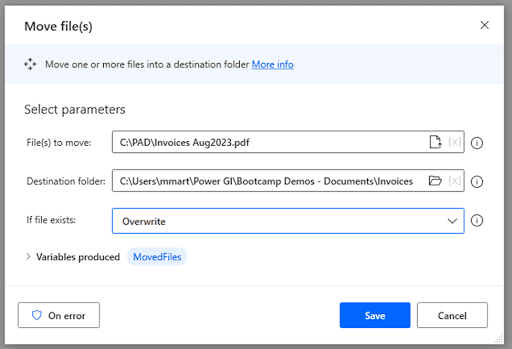
This is what you will get prompted:
Are you ready to discover the joy of automation?
Whether you have a project in mind or just want to know how we can help, we’re happy to have a conversation
Select a single file or a whole folder to move
Indicate Destination folder, this must be mapped to the folder that is syncing to SharePoint
Select if you want files to be overwritten if the name already exists.
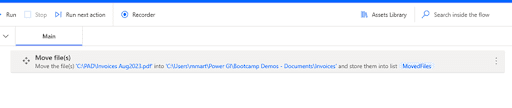
Once this single action is set up, you can execute the automation, this will first move the file to your local folder. Just wait a couple of seconds until it syncs to the cloud!
In a moment, you will see the new file in SharePoint!
All set! Now you know the out-of-the box options to upload files from your local PC to SharePoint using Power Automate Desktop.
Uploading files to SharePoint from Power Automate Desktop streamlines data management. This smooth integration within the Microsoft Power Platform enhances workflow efficiency, enabling users to effortlessly transfer files and improve collaboration. Simplify your processes and elevate productivity with this powerful solution.