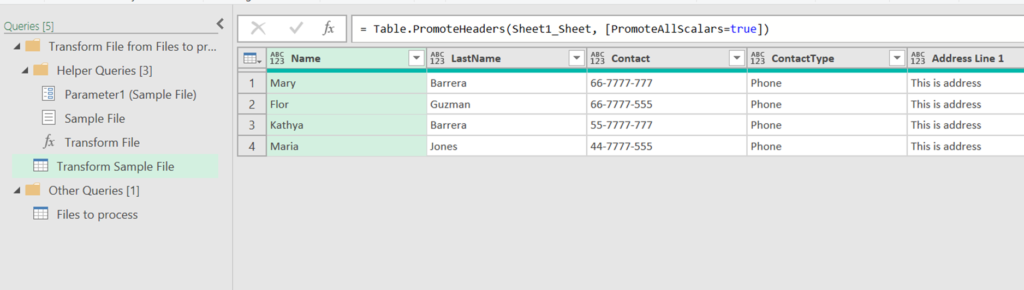
When we connect to a folder to combine all the files, Power Query creates a “Query” called Sample File, which is used as example to process each file, the results will depend on the columns that exist in this file. But what happens when any of the files have missing columns?
In the below example, we have three files with 5 columns in common, but there are a couple that are not present in all the files: Contact2, ContactType2 and Address Line 2.
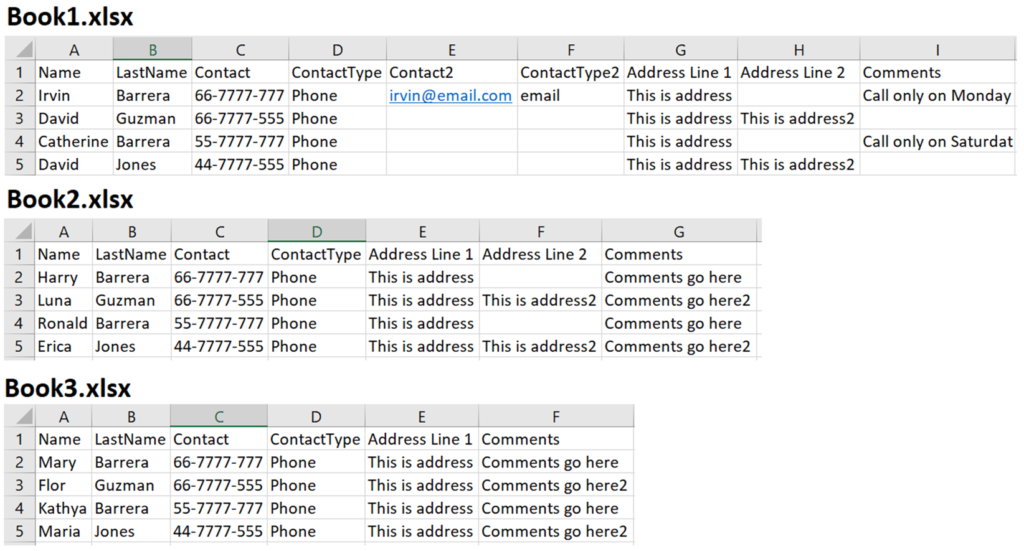
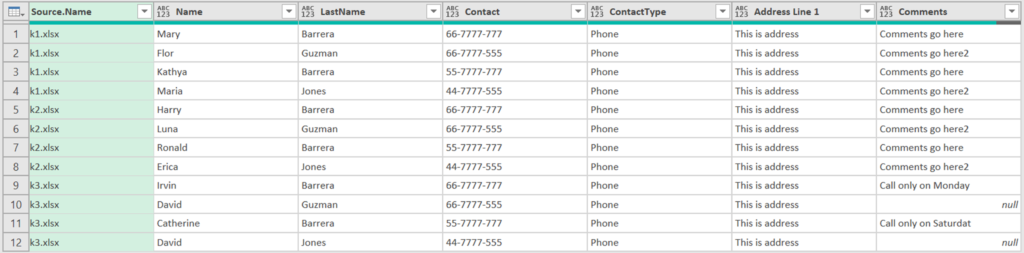
If Power Query uses the workbook with less columns as Sample file, it will exclude all the columns not present in Book3.
We have shown in previous posts two different ways of working around this issue, by (1) modifying the Sample File (for unformatted tables & csv files) and by (2) Forcing power query to use as sample file the file with most columns.
In this post, a different approach will be explained: Force Power Query to recognize All the columns you want to be in your final report.
We’ll achieve this by listing all the columns we need in a separate table, and then we’ll use this list as a base for our resulting query instead of whatever columns are in the selected Sample file.
This method is often used in Power Apps consulting services to ensure all relevant data points are retained when working with dynamic datasets.
Our Power Platform consulting services streamline automation and data management, addressing potential issues with inconsistent file columns. By leveraging our expertise, we ensure that all necessary data points are captured effectively, offering a robust solution for businesses using Power Apps consulting services to handle dynamic datasets efficiently.
Listing the all the columns you need
Before we begin, please make sure:
(1) You’re connected to the folder (Get Data -> from folder…)
(2) Your Transform Sample File query recognizes your column names correctly and NOT as “Column1”, “ColumnX”, …. (if your data is formatted an excel table, this isn’t an issue, if you have unformatted data, check out this post).
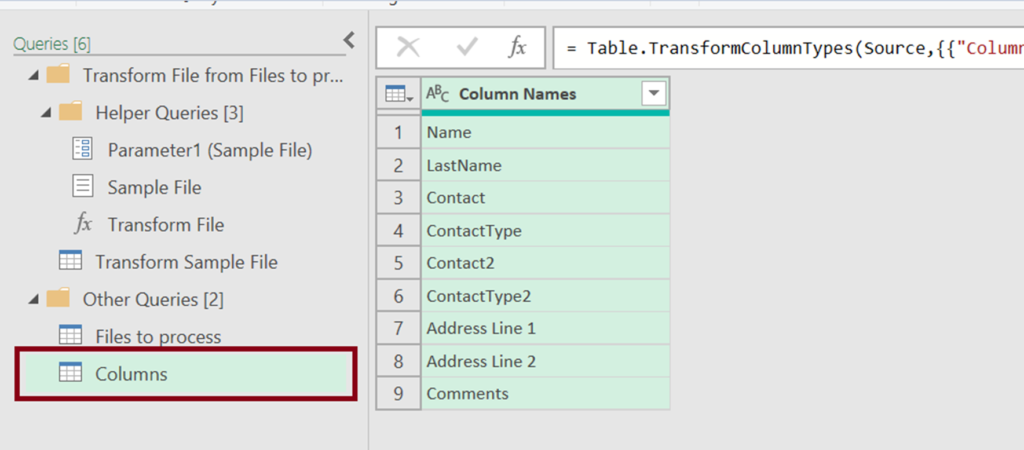
- Identify all the columns you need in the query results. In this specific case, we need these:
- Name
- LastName
- Contact
- ContactType
- Contact2
- ContactType2
- Address Line 1
- Address Line 2
- Comments
- Open a new sheet in your Excel workbook and create a table with that list and add it to the Queries & Connection by using the From table/range button.

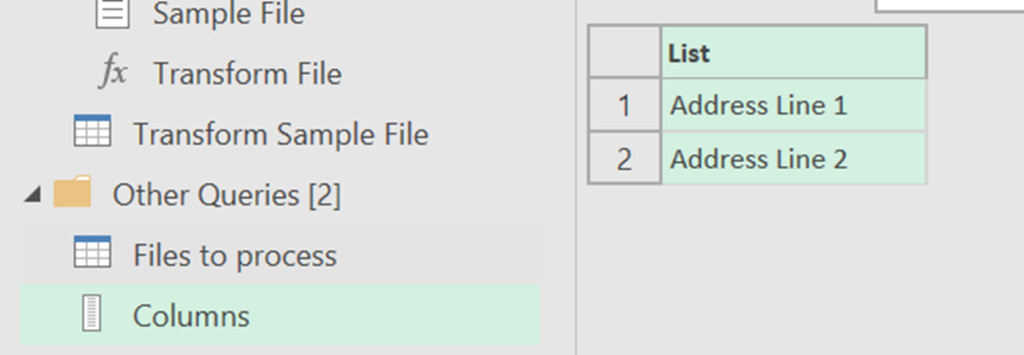
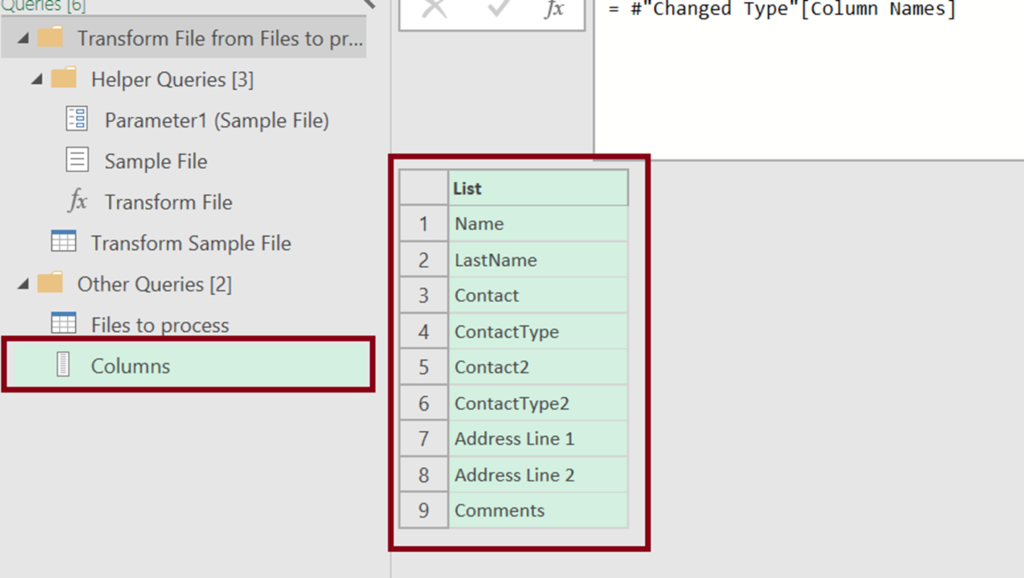
- Let’s transform this table into a list of values. Go to Transform tab and click on Convert to List

Now we should have a ‘List icon’ instead of a ‘table icon’ in the query names section. This means our table was successfully converted to a list.
Automatically using your column list instead of the Sample file columns
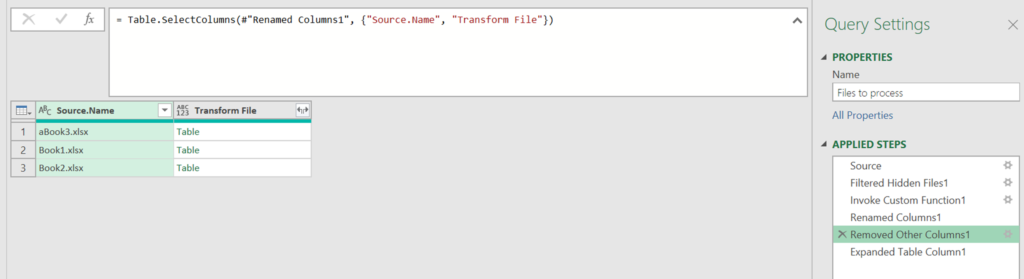
Go back and open the main query and position at the “Removed Other Columns1” step, you will see that this step shows the files tables next to the name of the file.
Now, go to the “Expand Table Column1” step.
The formula being used in that step is Table.ExpandTableColumns, which is basically taking the “Tables” from each file, combining all the data, and using the Column Names from the Sample File to expand each of them.
With this formula, as per the Power Query M documentation, as long as you pass a List of “Column Names” in the second argument, the query will have no errors.
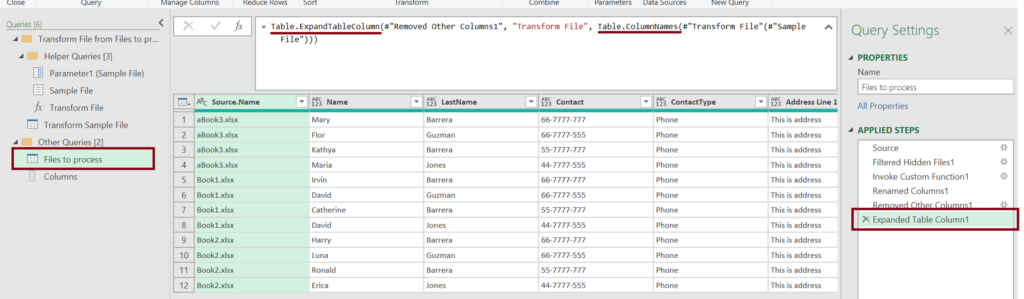

https://docs.microsoft.com/en-us/powerquery-m/table-expandtablecolumn
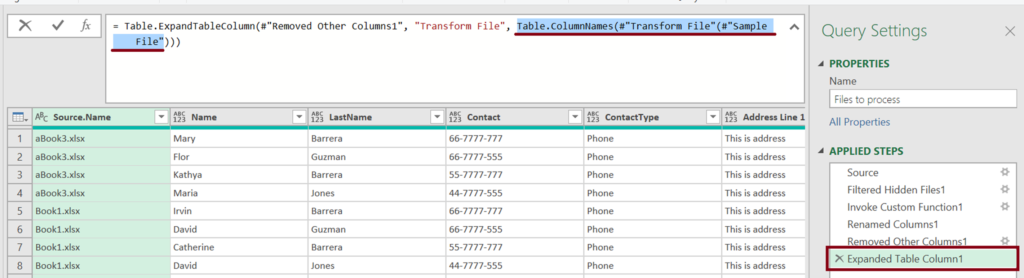
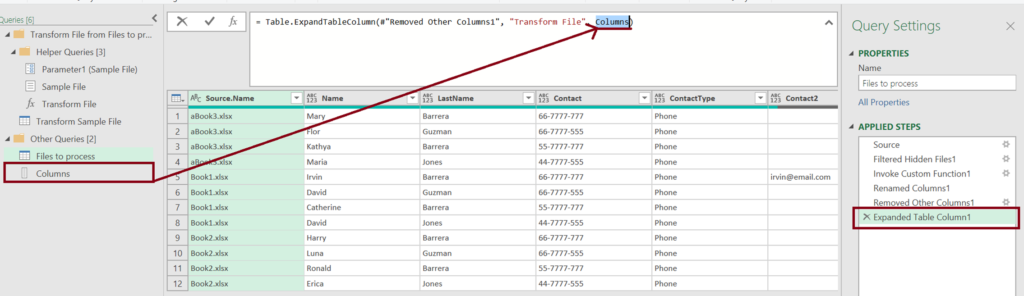
- Since we now a have a custom-made List of column names, we need to replace the part of the code that refers to the sample file with our List name, as shown below:
From:
To:
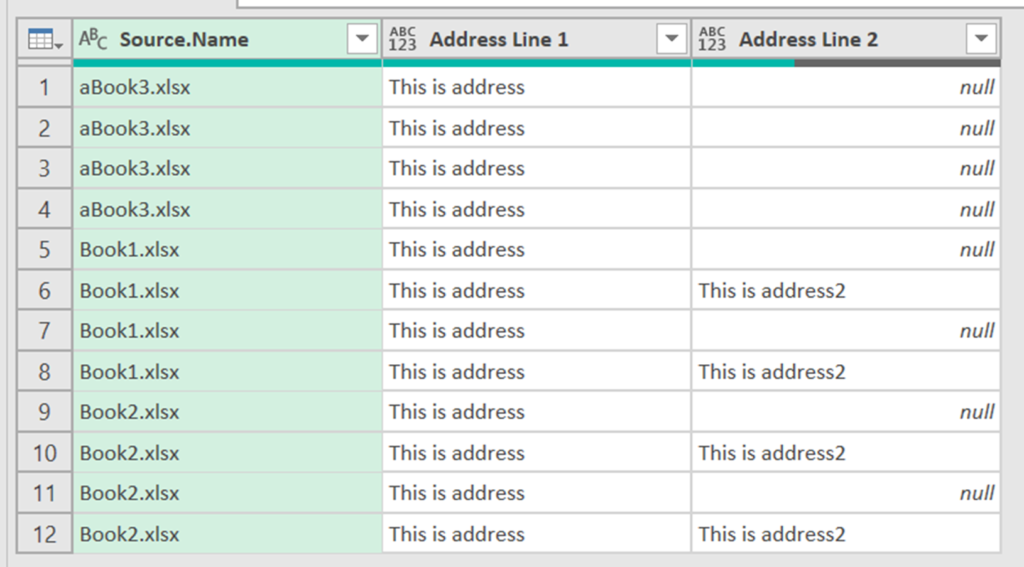
And, that’s it! Now we have all the columns being shown in the final query. Regardless of what sample file is being used by Power Query.
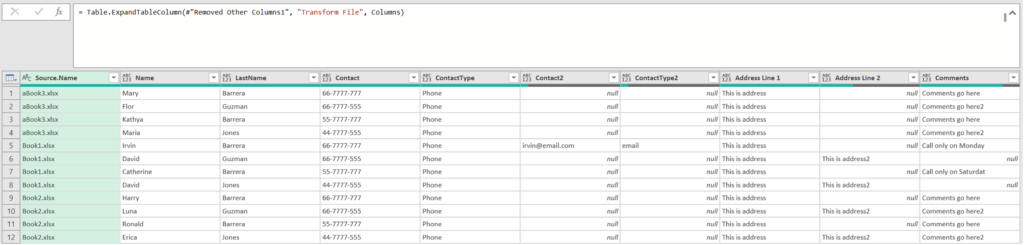
Note: if you remove any column name from the list or miss to add a column, your final query will not include it, even if its present in the Sample File.